Drivers
Whether you’re using simulated cameras for testing, virtual cameras for loading pre-recorded data, or real hardware cameras, the Jacobi Vision library offers a unified interface to interact with them. In this tutorial, we’ll explore the various camera drivers available in the Jacobi Vision library and learn how to use them effectively in your applications.
Overview of Camera Drivers
The camera drivers in the Jacobi Vision library are designed to provide a consistent interface for capturing images from different camera sources. The main drivers included are:
SimulatedCameraDriver: Connects to the Jacobi Studio simulation environment to retrieve simulated camera images.VirtualCameraDriver: Loads images from the filesystem, useful for testing algorithms with pre-recorded data.RealSenseCameraDriver: Interfaces with Intel RealSense cameras to capture real-world images.PhoXiCameraDriver: Connects to Photoneo PhoXi 3D scanners for high-quality depth imaging.MechMindCameraDriver: Interfaces with Mech-Mind industrial cameras for 2D and 3D imaging.
By using these drivers, you can switch between different camera sources without changing the core logic of your application.
Common Interface for Camera Drivers
All camera drivers inherit from a common interface and provide the following key methods:
get_image: Captures a single image from the camera.stream: Provides an iterable that yields images continuously, useful for real-time processing.
Simulated Camera Driver
The SimulatedCameraDriver connects to the Jacobi Studio simulation environment to retrieve images from a simulated camera. The simulated RGB-D camera uses Studio Live, so ensure that this feature is enabled in Jacobi Studio.
To initialize the simulated camera driver:
from jacobi_vision.drivers import SimulatedCameraDriver

sim_driver = SimulatedCameraDriver()
If you have multiple cameras in your scene, you can pass the specific Camera object to the simulated driver via the camera argument.
To capture a single image:
image = sim_driver.get_image()
To continuously capture images in a loop:
for image in sim_driver.stream():
    image.show()
Virtual Camera Driver
The VirtualCameraDriver loads images from the filesystem, which is useful for testing with pre-recorded data.
To initialize the virtual camera driver:
from jacobi_vision.drivers import VirtualCameraDriver
from pathlib import Path

# Specify the directory containing your images
image_directory = Path('/path/to/your/images')
virtual_driver = VirtualCameraDriver(path=image_directory)
To capture a specific image:
image = virtual_driver.get_image()
To iterate over all images in the directory:
for image in virtual_driver.stream():
    image.show()
RealSense Camera Driver
The RealSenseCameraDriver interfaces with Intel RealSense cameras to capture live images.
To initialize the RealSense camera driver:
from jacobi_vision.drivers import RealSenseCameraDriver

realsense_driver = RealSenseCameraDriver()
To capture a single image:
image = realsense_driver.get_image()
To stream images continuously:
for image in realsense_driver.stream():
    image.show()
Photoneo PhoXi Camera Driver
The PhoXiCameraDriver connects to Photoneo PhoXi 3D scanners.
To initialize the PhoXi camera driver:
from jacobi_vision.drivers import PhoXiCameraDriver

# Replace 'YOUR_CAMERA_NAME' with the actual name of your PhoXi camera
phoxi_driver = PhoXiCameraDriver(name='YOUR_CAMERA_NAME')
To capture a single image:
image = phoxi_driver.get_image()
To stream images continuously:
for image in phoxi_driver.stream():
    image.show()
Mech-Mind Camera Driver
The MechMindCameraDriver interfaces with Mech-Mind industrial cameras.
To initialize the MechMind camera driver:
from jacobi_vision.drivers import MechMindCameraDriver

mechmind_driver = MechMindCameraDriver()
To capture a single image:
image = mechmind_driver.get_image()
To stream images continuously:
for image in mechmind_driver.stream():
    image.show()
Handling Different Image Types
All drivers support different image types specified by the ImageType enum:
ImageType.Color: Captures only the color image.ImageType.Depth: Captures only the depth image.ImageType.RGBD: Captures both color and depth images.
When initializing a driver or calling get_image, you can specify the desired image type:
from jacobi_vision.image import ImageType

# Capturing a depth image using the RealSense camera driver
realsense_driver = RealSenseCameraDriver(image_type=ImageType.Depth)
depth_image = realsense_driver.get_image()
Depending on the provided image type, the driver will return the corresponding image data. You can visualize the images using the show method:
color_image.show()
depth_image.render_depth().show()
Visualizing Live Data in Studio
You can send a color image to Jacobi Studio for visualization using the set_camera_image_encoded action:
from jacobi import Studio

studio = Studio()

encoded_image = color_image.encode()
studio.set_camera_image_encoded(encoded_image, camera=camera)
Similarly, you can visualize depth maps:
from jacobi import DepthMap

# Convert depth data to a Jacobi DepthMap object
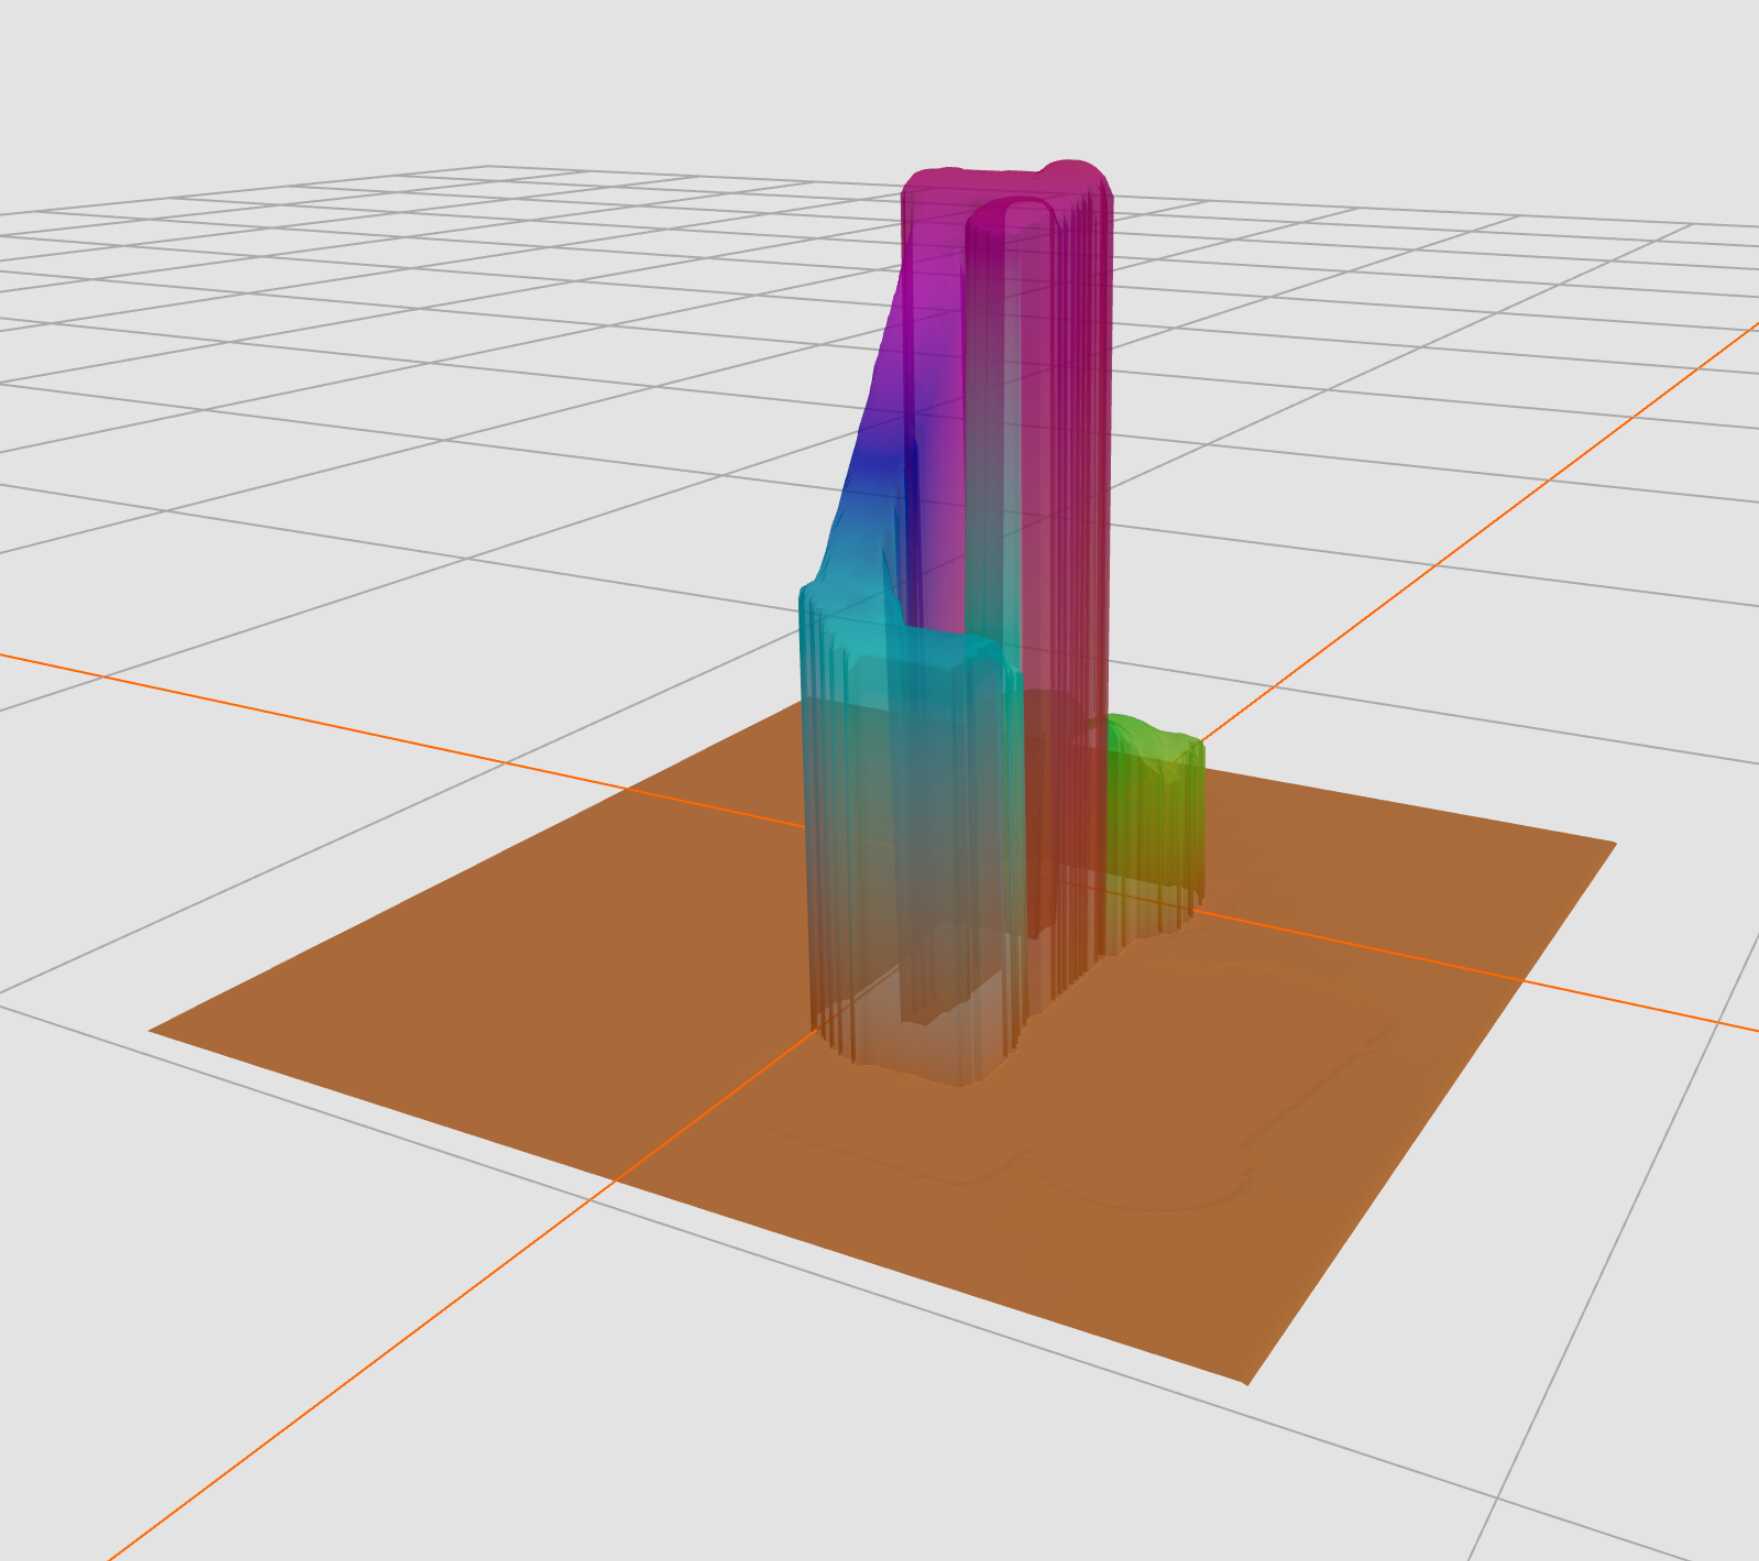
depth_map = depth_image.to_depth_map()
# x and y are the physical dimensions of the scene represented by the depth map
studio.set_camera_depth_map(depth_map.depths, depth_map.x, depth_map.y, camera=camera)

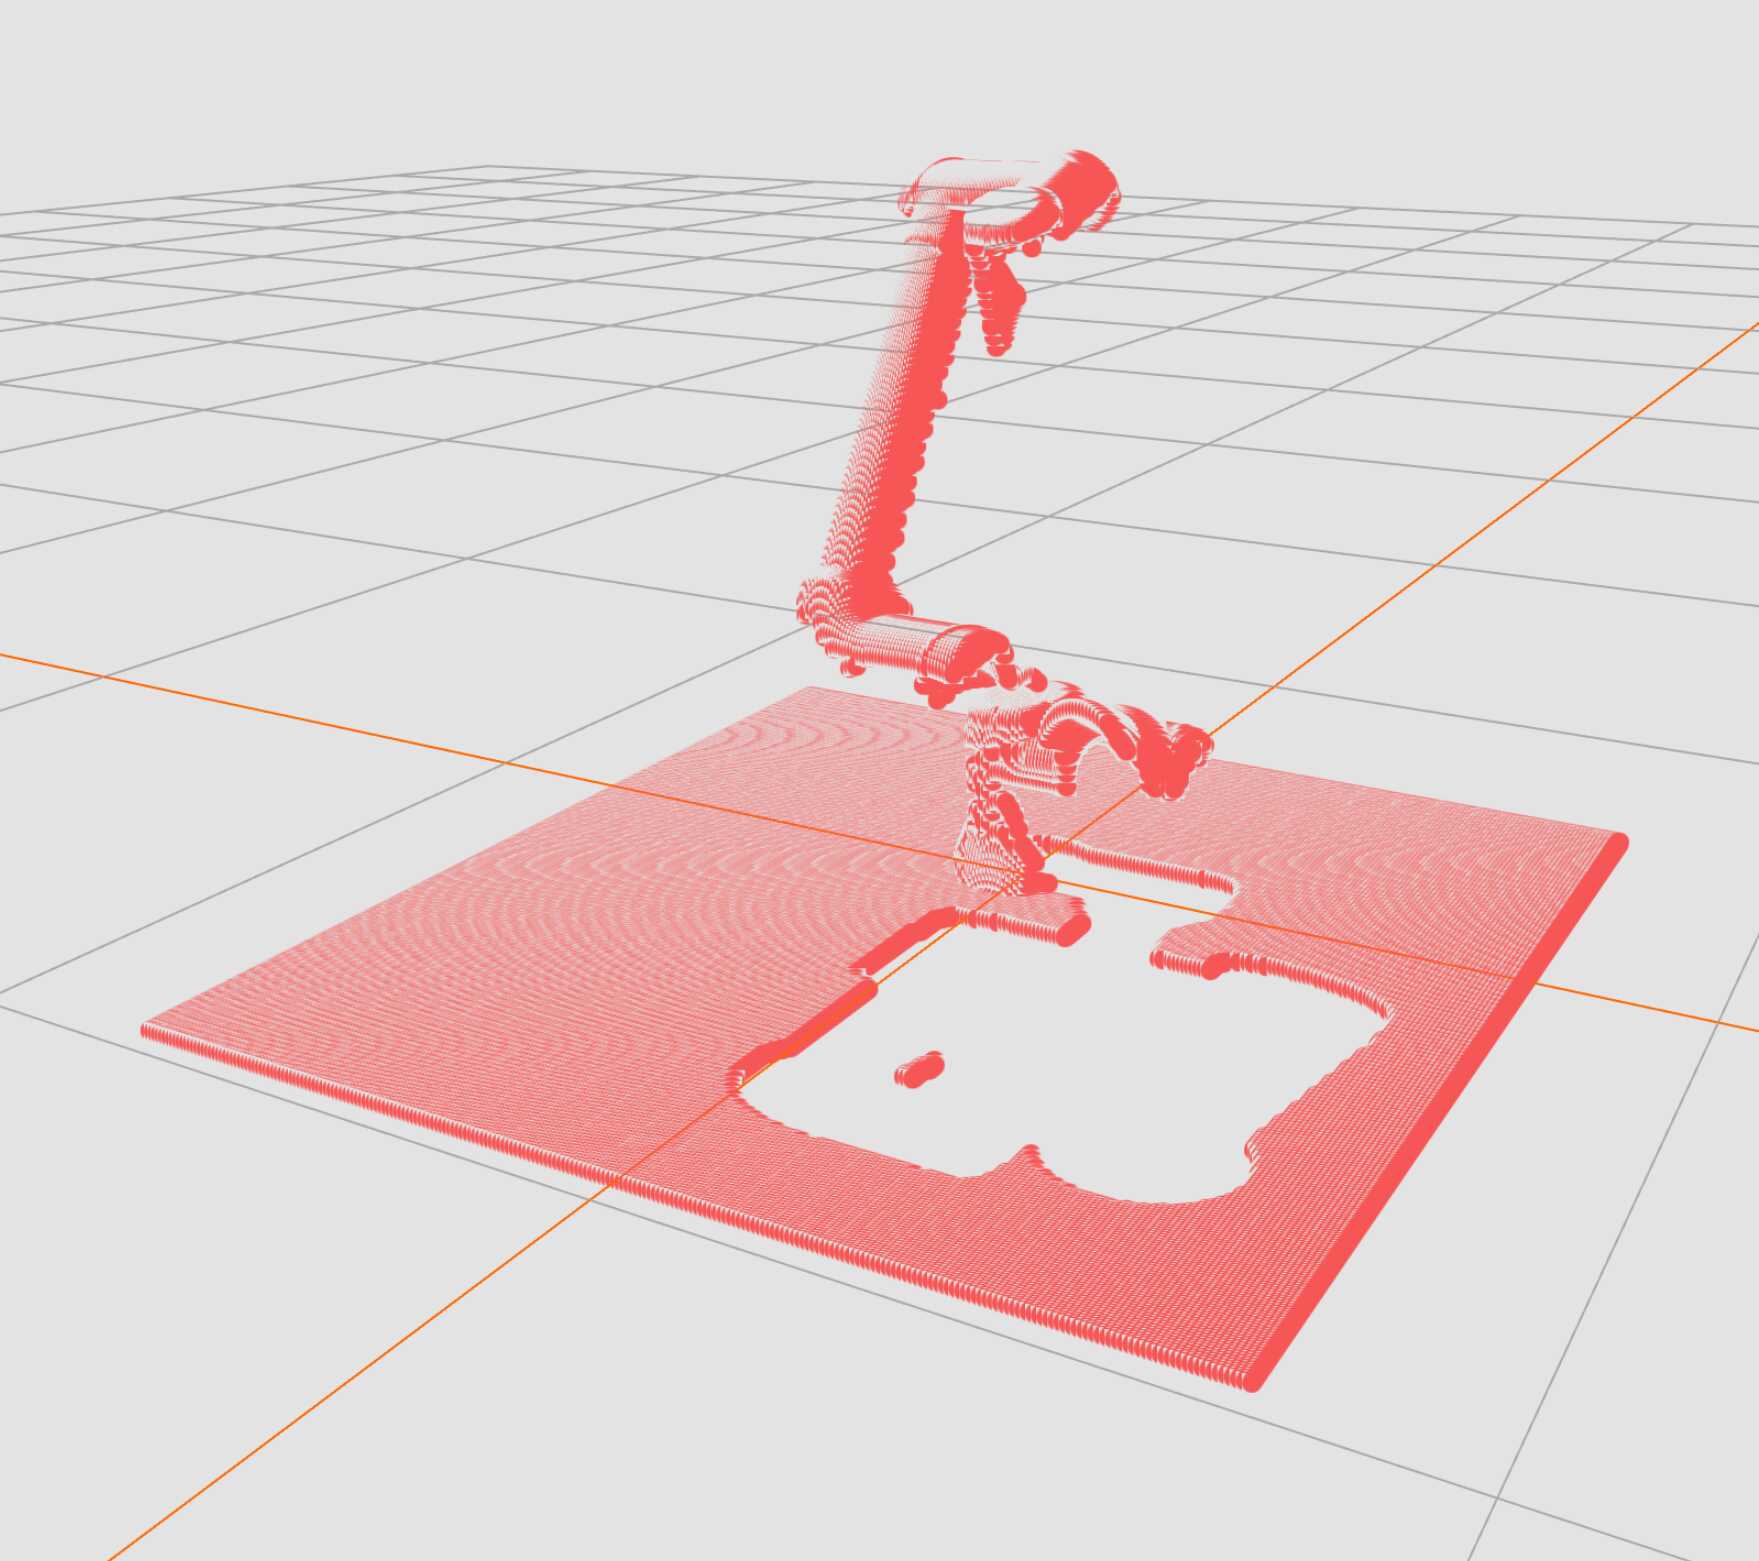
Alternatively, it might be more intuitive to visualize a point cloud, which is a 3D representation of the scene:
# Generate a point cloud from the depth image
point_cloud = depth_image.to_point_cloud()

# Flatten the point cloud to a list
points = point_cloud.flatten().tolist()
studio.set_camera_point_cloud(points, camera=camera)

In the cases above, depth maps and pointclouds are visualized in the camera’s frame of reference. This is useful for understanding the scene from the camera’s perspective.
In certain cases, such as when the extrinsic camera parameters are known, you might have a point cloud in the world frame. You can visualize it in Studio without specifying a camera object:
studio.set_point_cloud(points)
In the next tutorial, we will take a look at how depth map and point cloud environment representations, which can be obtained from camera data, can be used for motion planning in Jacobi.